Conversations & contacts
Add notes to contacts
Use this SOP when you want to keep extra context with a contact, such as a call attempt, objective, appointment or other information that you want to quickly find later.
Brief overview
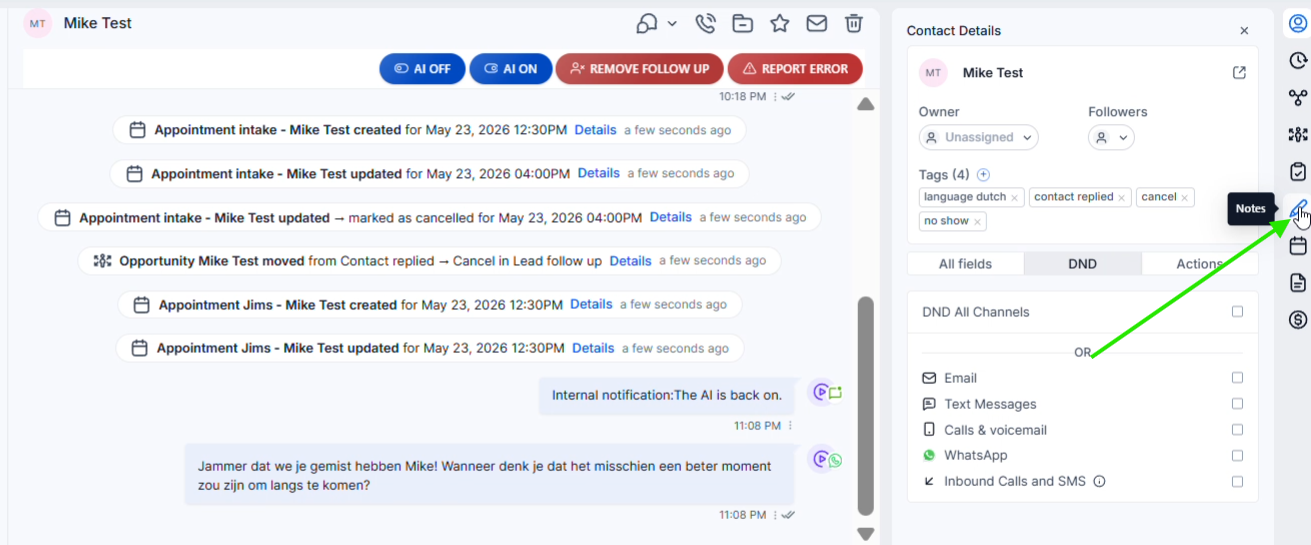
Open the correct contact via Conversations into app.ldgns.be and click in the right sidebar Notes. Via +Add create a new note.
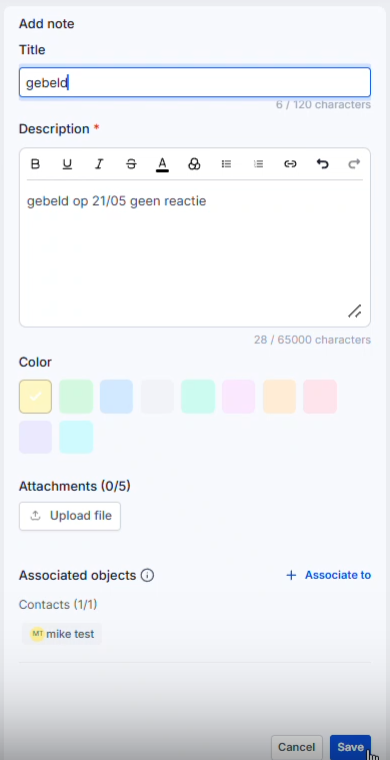
Give the note a clear title, write the context in the description and use formatting, a color or an attachment if necessary. Once saved, the note will appear in the contact's Notes panel.
You can pin important notes so that they stay at the top. You can release less important notes later.
Video explanation
Check out the walkthrough to see how to open the Notes panel, fill out a note, and find your saved notes.
This video is in Dutch. Click the gear icon in the video player, turn on Closed Captions and choose English under Caption Language.
How to change subtitle languageStep-by-step plan
Step 1 - Open the Notes panel
Open the conversation or contact sheet of the right person. Right click on the vertical sidebar Notesicon. The Notes panel opens on the right side of the screen.
Step 2 - Create a new note
At the top of the Notes panel, click +Add. Refill Title a short title, such as Called, and write Description what happened or what information you want to keep.
Step 3 - Use formatting, color, or attachment if helpful
You can make text bold, underlined or italic, add a link or choose a color to make the note more noticeable. Only add a file via Upload file when that attachment really belongs to this contact person.
Step 4 - Save the note
Check the title and description and click on the bottom right Save. The note will then appear in the Notes panel with the chosen color and the time it was created.
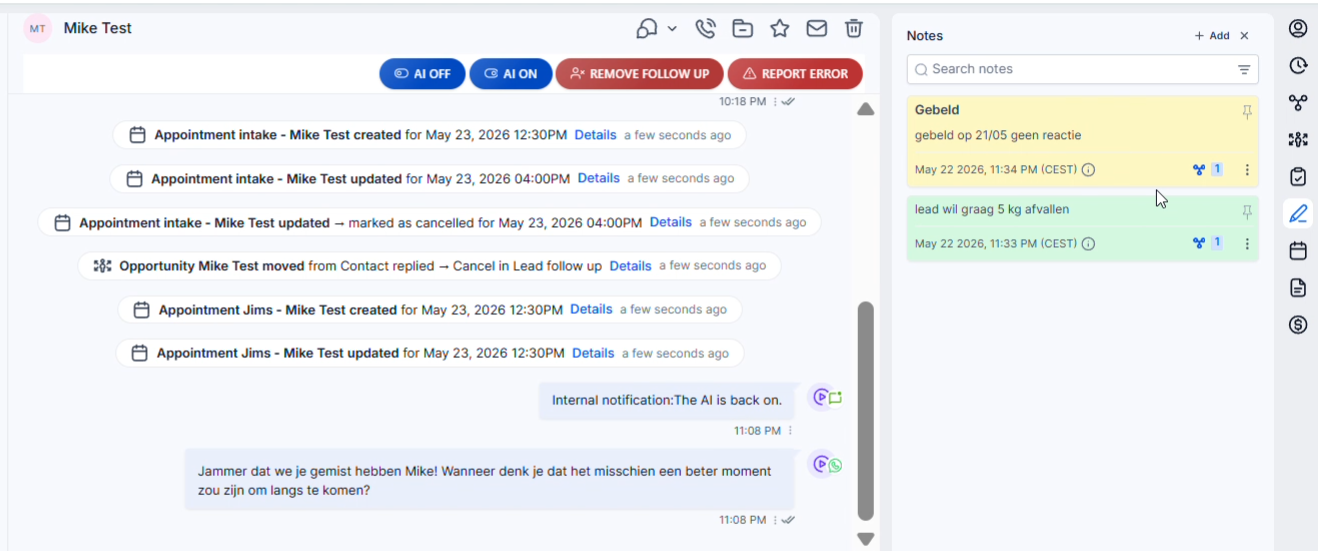
Step 5 - Pin important notes
Click on the pin icon next to a note when it should remain at the top, for example for important appointments or context that the team often needs. Click again to unpin the note.
Common problems
Check whether you are in the right conversation or on the right contact sheet and click on the Notes icon on the right in the vertical sidebar.
Use a short action title such as Called, Purpose discussed, No response or Appointment info. Put the details in the description.
Check that the file is relevant, not too large and has a normal file type. Then try again via Upload file.
Pin the note with the pin icon. This way it remains visible at the top, even when new notes are added later.